Tuesday, September 23, 2014

Another DAC90A

Whilst I was on holiday recently I picked up another Bush DAC90A.  I did say that I wouldn't buy another unless it was white or ivory colour, but at £15 I just couldn't turn it down. It will probably go to a family member or friend once its been restored.

DAC90A in as-found condition
It's complete and appears to be unmolested...no sign of the phantom bodger here! There is a tiny chip in the bakelite underneath, but apart from being filthy the cabinet looks OK, so its a good candidate for restoration.

 The rear panel is a bit rough, but should be usable after a good clean.
The glass is intact and undamaged

The only thing I want to check before starting is the loudspeaker output transformer; these have been known to fail, and it can be difficult to find replacements. This is one of the things that can happen if someone has found the set and just plugged it in to see if it works.

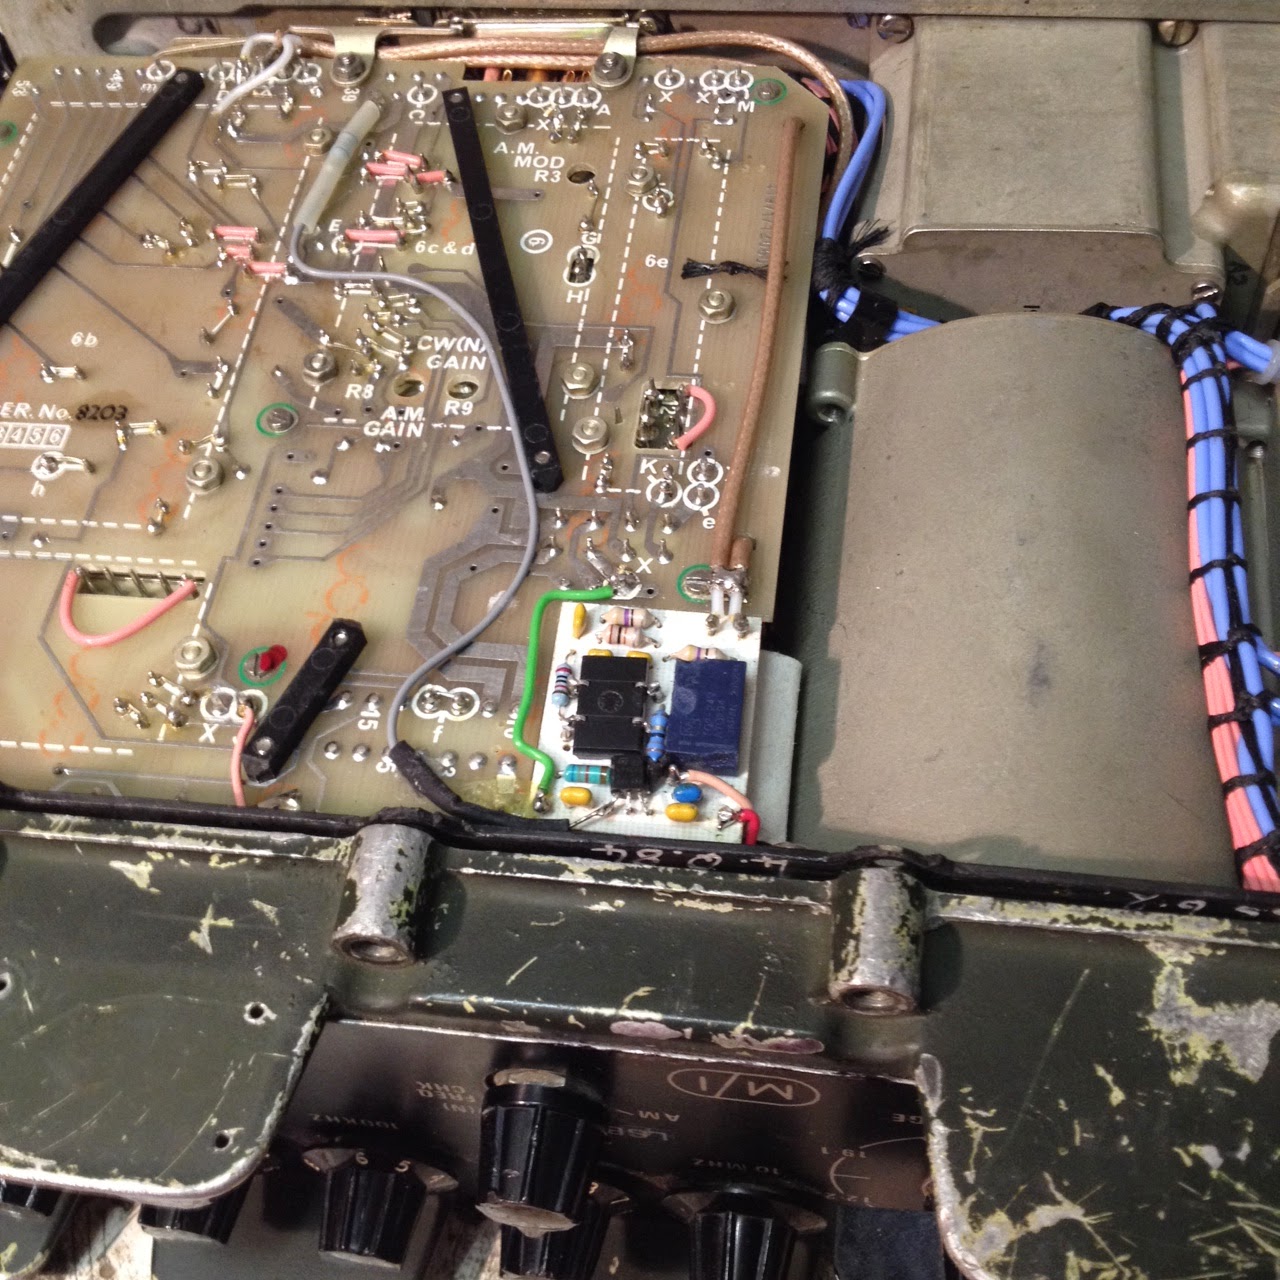
Finally, a couple of 'before' pictures of the chassis. There's a good sixty year's worth of dust and muck on it, but no sign of moisture damage. There's a little rust on the lamp holders, but no much anywhere else.

Six decades of dust

The smoothing capacitor is dated November 1954, so this set was probably built late in '54 or early '55.

I've seen a LOT worse!

The only problem I have now is making room for it in the workshop. The GEC 5645 is supposed to be next in the queue, but DAC90As are relatively easy to work on and it could be a quick job. I'll let you know how I get on later.

Keep listening!

Tuesday, September 09, 2014

Clansman PRC320 repair

The Clansman PRC320 HF radio that I recently blogged about has been in my workshop for repair this week. It failed when I took it on holiday early in August, but I hadn't had time to fix it until now.

The set appeared completely dead and wouldn't power up, even though I tried two freshly charged batteries.
It turned out that a screw had worked loose, and it had ended up being lodged between the +24V battery input terminal and the chassis.

PRC320 main PCB, with LSB modification  installed

The offending screw was one of the PCB securing screws which are identified with a green circle on the PCB silkscreen. Its now back in place, centre left of the photo above, and secured with a dab of the wife's red nail varnish.

The little white PCB in the photo above is the LSB modification that I recently fitted. I might detail this in a blog some other time.

If you open up one of these sets yourself it would be a good idea to check all the screws for tightness. Quite a few were loose in mine, along with the nuts securing the BNC sockets on the rear panel.

I later discovered that the dead short had taken out both of the batteries. It appears that they have an internal fuse (probably a good idea if one is going to put a dead short across a large pack of NiCd cells) but unfortunately it is buried deep between the cells where it is inaccessible.

Clansman 24V 4Ah NiCd battery

The battery packs were the later all plastic types and arent meant to be opened, but I was able to prise the bottom off of one of them. I exposed the bottom layer of cells by digging out some of the foam that surrounds them, but I didn't think I would get any further without damaging either the cells or the plastic case.

The thin red and black wires in the centre of the pack are from one of the temperature sensors used by the charger.

I've still got one good battery pack left. That should keep me going for now, but in the longer term I'll either have to buy some more, or come up with and alternative form of battery.

Keep listening!